Have you ever wondered why the steak from a restaurant tastes so good? There’s likely one technique responsible for that rich, browned crust and charred flavour: searing. It’s arguably the most essential step of cooking a great steak. It locks in the juices, boosts flavour, and creates that signature steakhouse look.
In this blog, we’ll cover everything you need to know about how to sear a steak. We’ll explore what searing really means, how it impacts the flavour and texture of the final result, and how you can do it properly at home.
What Is Searing?
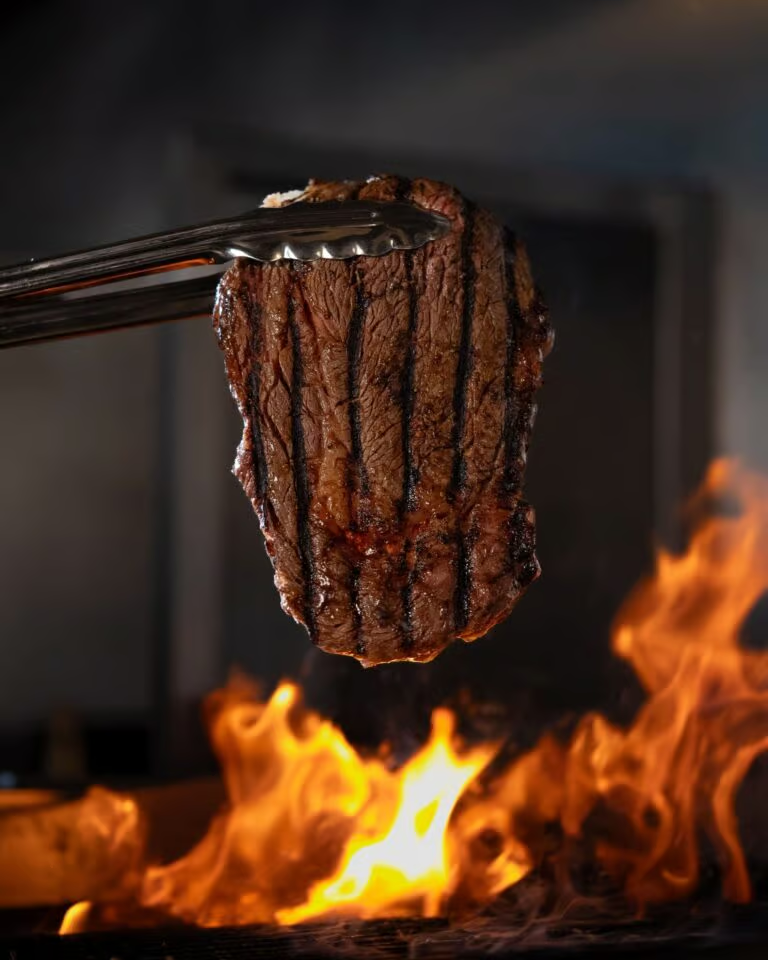
So what does it mean to sear a steak? It’s more specific than just the cooking process; it refers to the process of applying intense, direct heat to the surface of the meat. As the steak heats up, it begins browning as it goes through the Maillard reaction, a chemical reaction that occurs in the presence of heat, resulting in the steak developing a crust, adding flavour that simply couldn’t be achieved by cooking on a low heat. It’s why a steakhouse smells amazing when you walk in, and why a well-cooked steak tastes as good as it looks.
Why Do Chefs Always Sear Their Steak First
So why sear meat before cooking it through? If you aim to cook it through first, searing the steak afterwards will guarantee an overcooked, rubbery result. The Maillard reaction takes time to occur, so searing the steak first allows this process to take place, while also slowly raising the internal temperature closer to that perfect medium rare. A well-seared steak is about contrast. Contrast between the crust’s deeply savoury, charred notes and the smooth, slightly sweet interior. Contrast between the firm, lightly crisp surface and the tender body of the steak. A well-seared steak is interesting to eat. Each bite is composed of different flavours and a unique mouthfeel.
Which Steaks Benefit Most From Searing
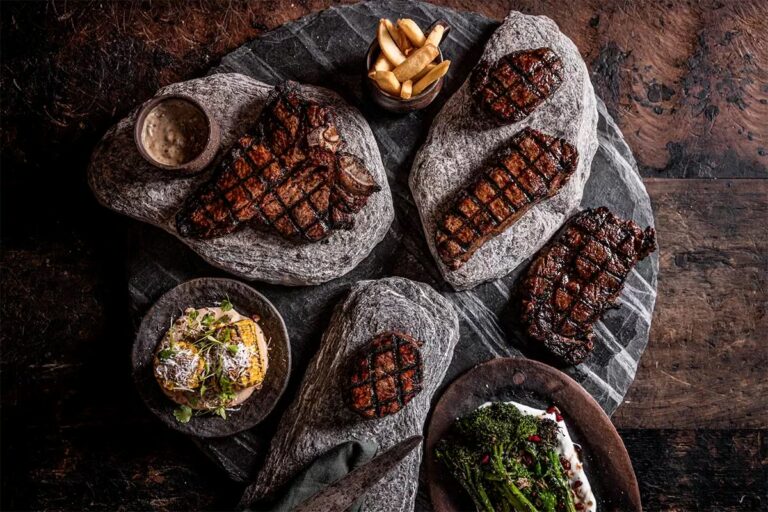
Put simply, almost all of them. Cuts with good marbling—the white intramuscular fat that runs through the meat—respond especially well to a good sear. That fat melts during cooking, and as the fat begins to caramelise, it acts as an oil for the steak to cook in, which is often why you’ll see breeds like Wagyu cooked with no added oil. Getting a good sear is the easiest way to take your steak to the next level, no matter the cut or breed.
How to Properly Sear a Steak
Preparation: Set Yourself Up for Success
Start with a good-quality steak, and let it come to room temperature before cooking. Pat it as dry as possible to remove any moisture—the enemy of a good sear—and season it. For a classic steak, a generous amount of salt on every surface, plus freshly cracked pepper, is all you need. For something a bit more adventurous, you could add some garlic powder, dried herbs, or a dry rub. Lastly, get your cooking surface preheated on high heat.
Pan vs Grill vs Coal
Each cooking surface brings its own characteristics
Pan Searing:
The classic cooking method and the most accessible. A heavy, solid pan holds and distributes heat more evenly, making it ideal for a great sear.
Searing on the grill:
Adds an added depth of smoky goodness and gives those classic grill marks. Just make sure you’re cooking with a two-zone setup, high-heat for searing, and low-heat for finishing.
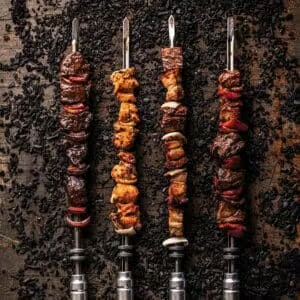
Searing on coal:
The favourite at Hunter & Barrel, this method has the steepest learning curve, but arguably delivers the best result when done right. The coals offer a strong smoky, charred taste, and create the unmistakable scent of a flame-grilled steak. Similar to grilling, distribute the coals unevenly to create a two-zone heat setup.
Technique: Timing and Turning
- Once your pan, grill, or coals are piping hot, carefully lay the steak down, ensuring to add a touch of neutral oil if you’re cooking in a pan.
- Crucially, leave the steak. Don’t move it around, don’t flip it. The magic comes from restraint.
- Sear each side for 1–2 minutes, until a golden brown crust develops on both sides. For thicker cuts, hold the steak on each edge for a further 30–60 seconds to get a nice colour on every surface.
- Then, lower the heat, or move the steak to the low-heat zone. This is where the steak will finish cooking, so it’s handy to have a meat thermometer to monitor the internal temperature.
- Once at your preferred doneness, remove the steak, let it rest for 5–10 minutes, and enjoy!
Ready to Taste the Difference?
Learning how to sear a steak is a rewarding skill for any home cook, but sometimes it’s better to leave it to those who live and breathe it. At Hunter & Barrel, we specialise in premium cuts of beef cooked over live coals. We invite you to taste the difference, so book your table now or explore our full menu today.